
Acrylic Pouring for Beginners: 5 Easy First Pours
Short answer
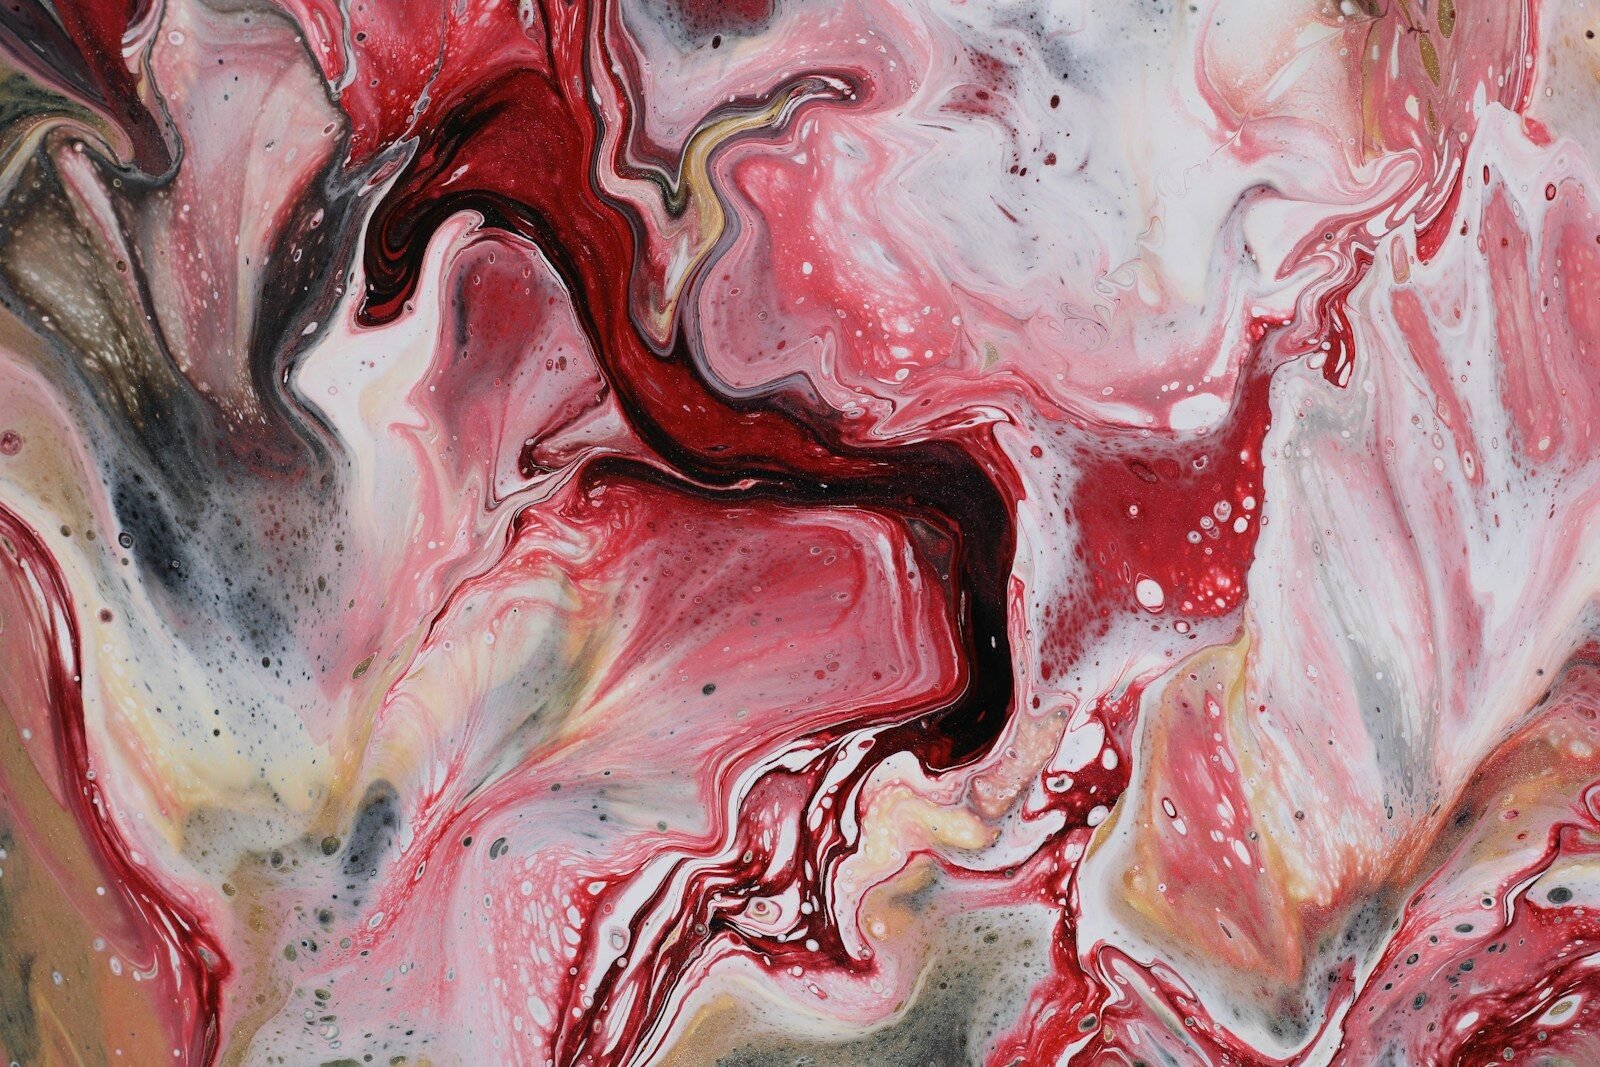
Photo by Susan Wilkinson on Unsplash
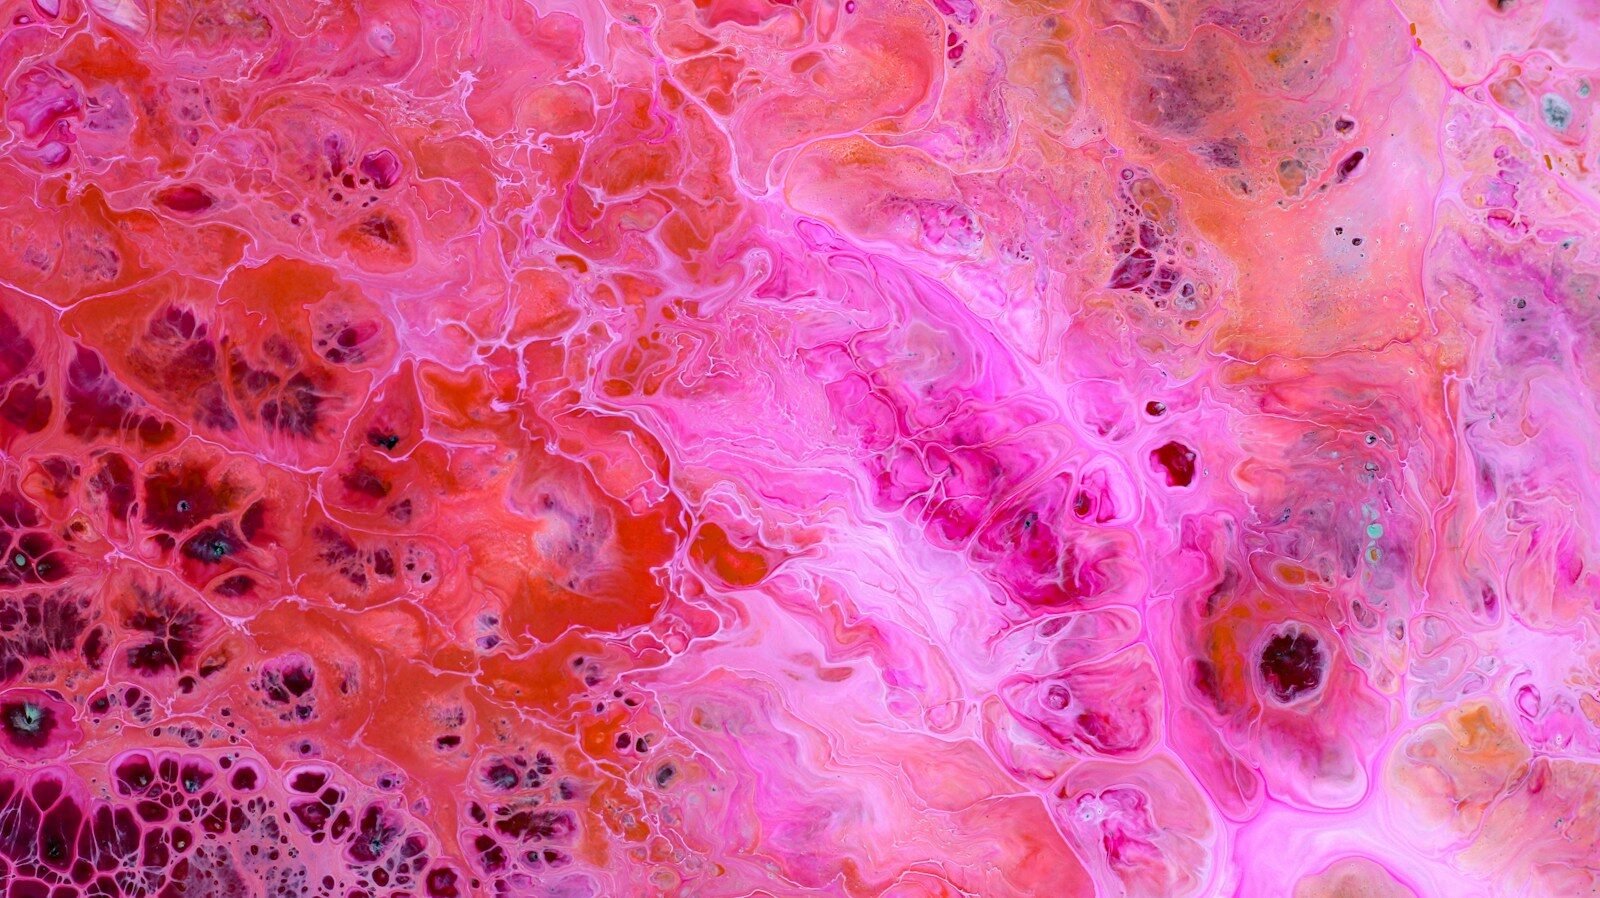
Acrylic pouring for beginners is fluid art: acrylic paint mixed with pouring medium until it flows like warm honey, then poured onto a canvas and tilted into marbled patterns. Acrylic pouring for beginners needs no brush skills and no drawing — the paint does the work, and no two pours ever look alike. Start with three forgiving techniques (dirty pour, flip cup, puddle pour), limit yourself to 2 to 4 colours, and protect your table before you start. This guide covers mixing, the first pours, cells, and drying.
Mixing paint and pouring medium
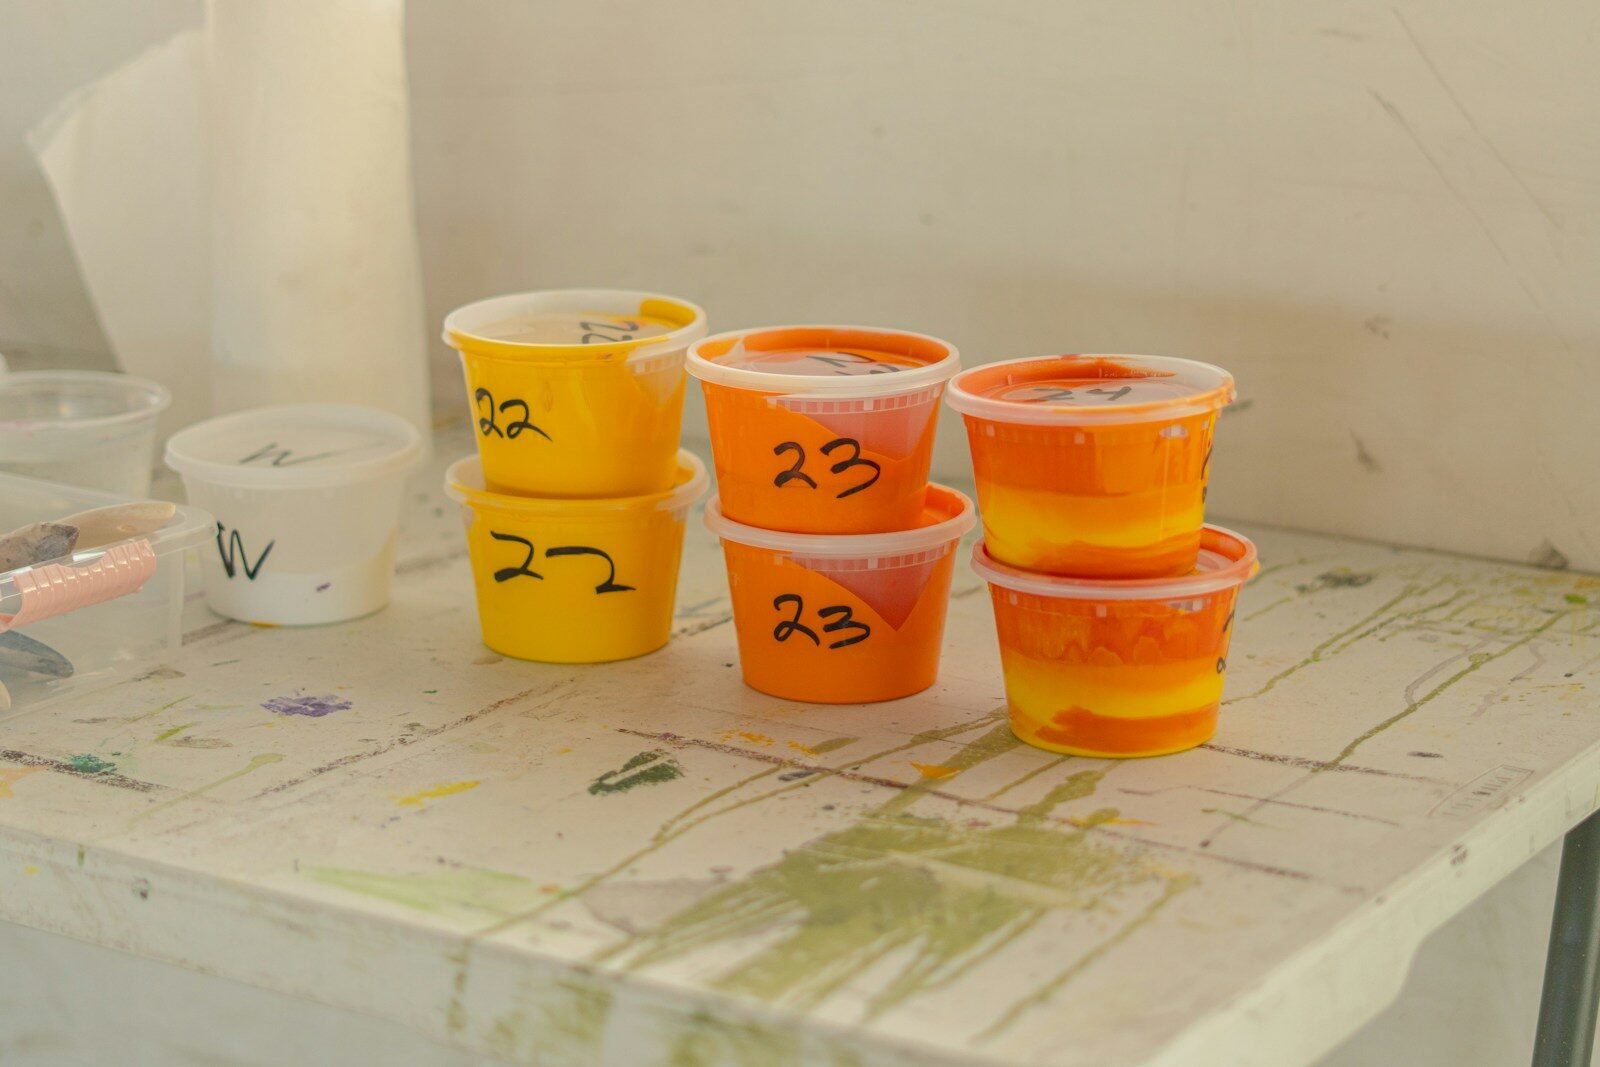
Photo by Createasea on Unsplash
Acrylic pouring for beginners starts with the mix: roughly 1 part acrylic paint to 2 to 3 parts pouring medium, thinned with a little water until it flows like warm honey. Pre-mixed pouring paints skip this step; mixing your own costs less and teaches you the consistency. Mix each colour in its own cup and stir slowly to avoid bubbles. Too thick and the paint will not flow; too thin and colours turn muddy. Test a drop on the canvas edge: it should spread slowly, not run like water. A few drops of silicone oil in a colour can create cells later, but use it sparingly.
Dirty pour, flip cup, and puddle pour
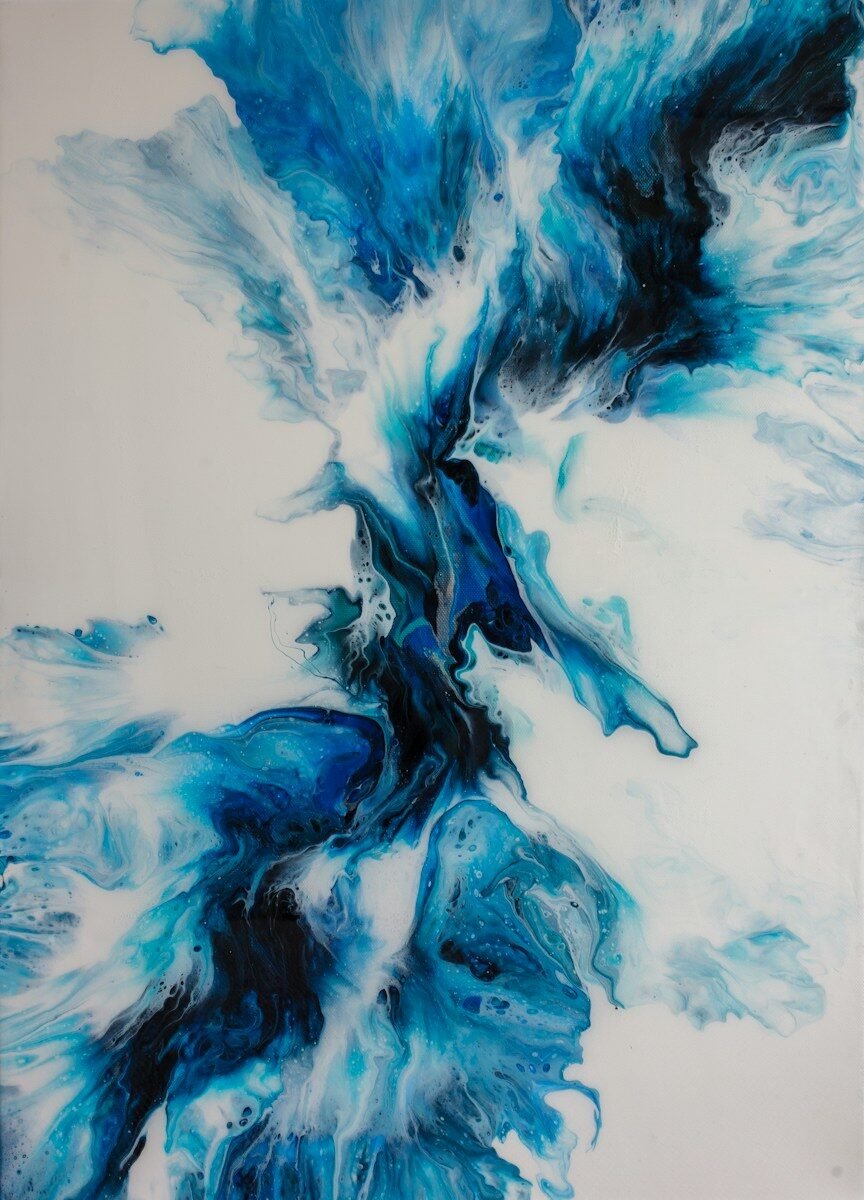
Photo by Rik Hopkinson on Unsplash
The three best first techniques in acrylic pouring for beginners are all forgiving. Dirty pour: layer colours in one cup, then pour the cup onto the canvas in one motion and tilt. Flip cup: layer colours in a cup, place the canvas on top, flip both together, and lift the cup. Puddle pour: pour colours one by one directly onto the canvas in puddles, then tilt. All three need only cups, a stir stick, and a canvas. Tilt gently — aggressive tilting mixes colours into mud. If a pour goes wrong, it is still a learning piece, not a wasted canvas.
Cells, colour choices, and tilting

Photo by Pawel Czerwinski on Unsplash
Cells are the small round patterns that make acrylic pouring for beginners look magical. They form when a lighter or silicone-treated colour pushes through heavier paint, often helped by a swipe with a palette knife. Limit the palette to 2 to 4 colours; more colours mix into brown. White paint is dense and helps other colours sit on top, which is why many pours start with a white base. Tilt the canvas slowly and let paint run off the edges onto a protected table — that runoff is normal, and catching it keeps the work clean.
Drying, finishing, and fixing problems
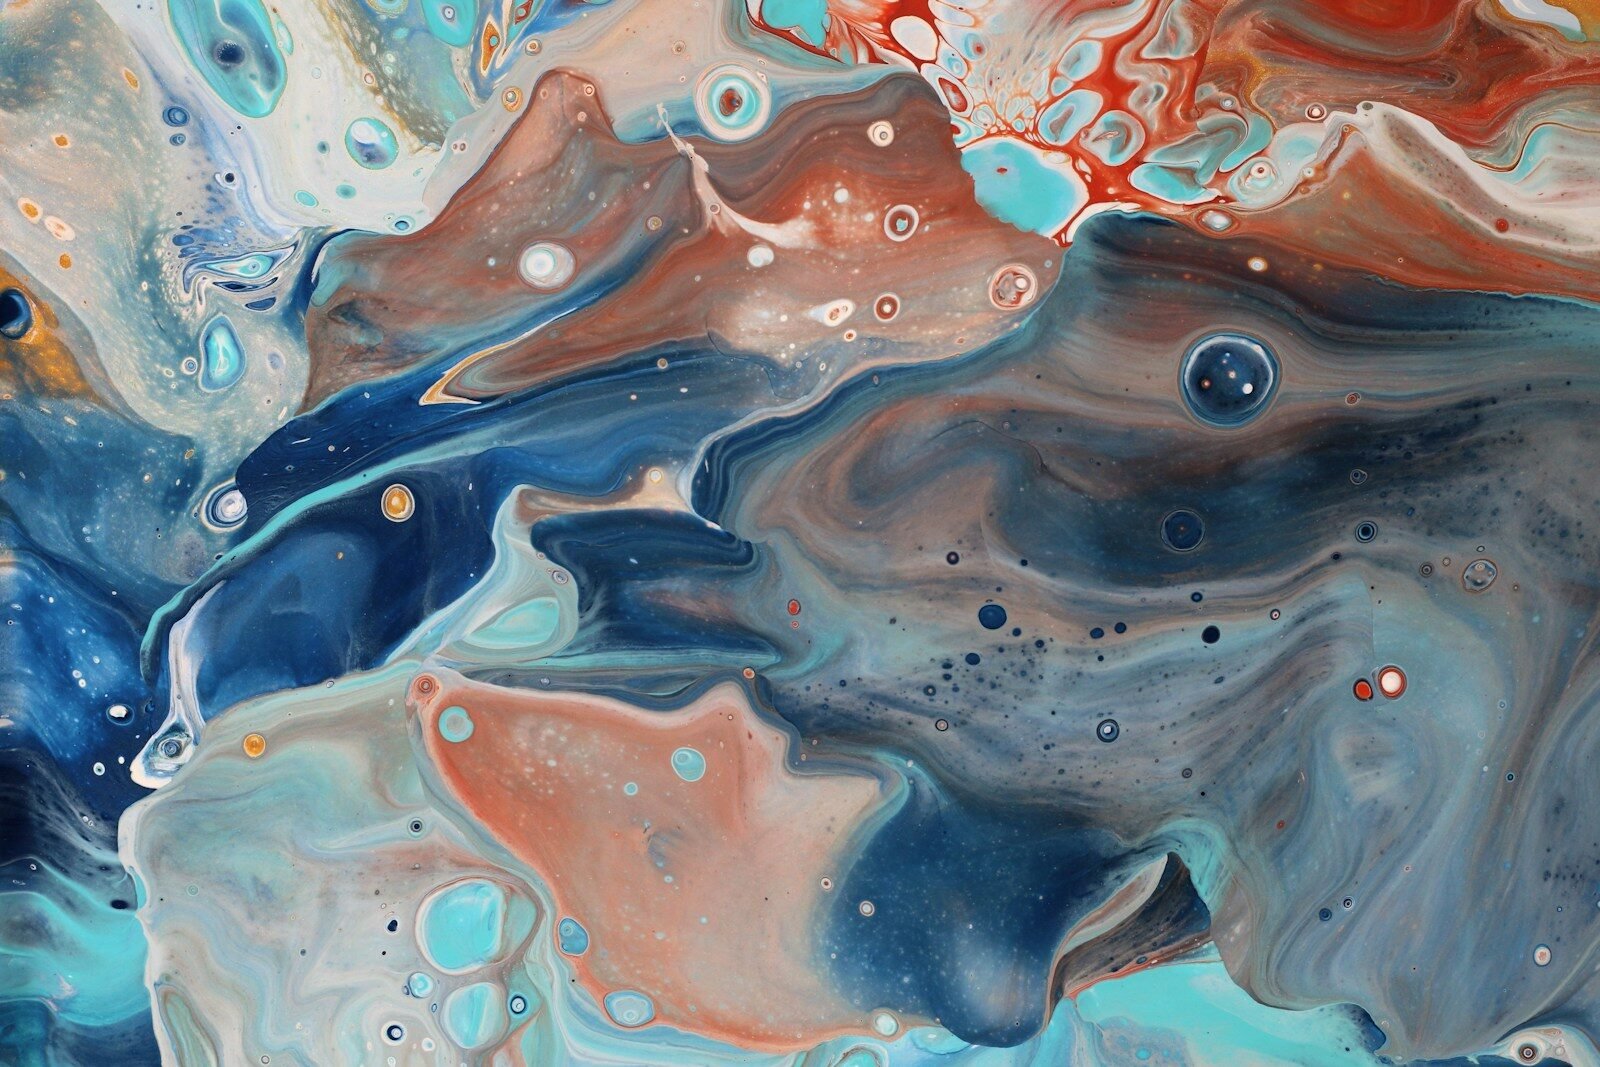
Photo by Susan Wilkinson on Unsplash
Dry a pour flat, away from direct heat and dust, for at least a day — thick areas take longer. Cracked paint usually means the layer was too thick or dried too fast, so use less paint next time and slow the drying. Once fully dry, a coat of varnish or resin protects the surface and deepens the colours. Acrylic pouring for beginners rewards patience here: moving a wet canvas ruins the pattern, and varnishing too early traps moisture. Photograph the finished piece in daylight before varnishing, in case you want to remember the colours exactly.
Your first pour, step by step
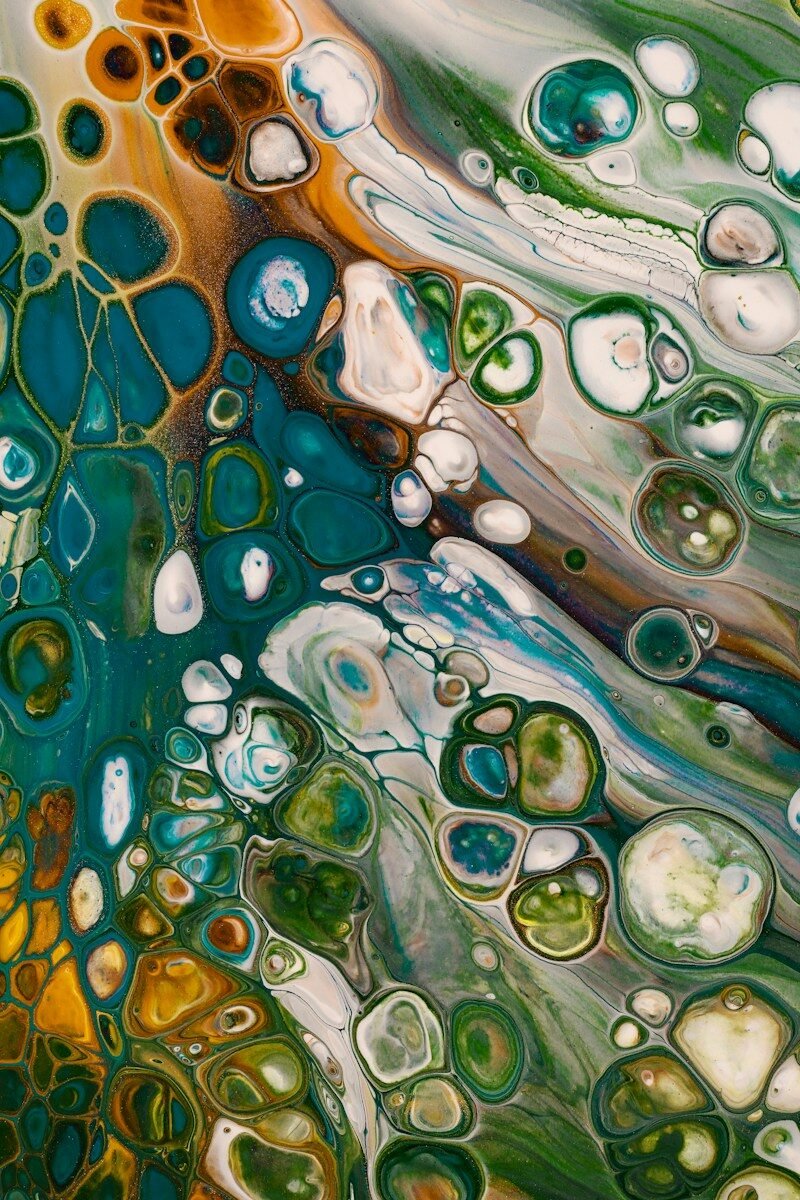
Photo by Susan Wilkinson on Unsplash
Cover the table, mix three colours plus white, and choose the dirty pour for your first attempt. Pour a thin white base, layer your colours in one cup, pour it in the centre, and tilt slowly until the canvas is covered. Leave it flat to dry and do not touch it. That is the whole first project — the same one-sitting satisfaction as finishing a first set in our nail guides, like How to Do Acrylic Nails at Home, and the same lesson as Acrylic Nail Care: preparation and patience decide the result. If you prefer brushwork instead, start with Acrylic Painting for Beginners. More creative guides are on the Blog.
FAQ
Photo by Susan Wilkinson on Unsplash
What is acrylic pouring for beginners? Mixing acrylic paint with pouring medium and pouring it onto a canvas for marbled, abstract patterns. Which technique should I try first? Dirty pour, flip cup, or puddle pour — all three forgive beginner mistakes. How many colours should I use? Two to four; more colours turn muddy. Why did my pour crack? Usually too much paint or drying too fast — use less paint and dry it slowly.