
How to Do Acrylic Nails at Home for Beginners
Short answer
Yes, you can learn how to do acrylic nails at home as a beginner — but your first set will take time, and good preparation matters more than speed. Set aside 2 to 3 hours for your first full set of 10 nails, work in a well-ventilated room, and follow the steps in order: prep, tips, beads, shaping, and finishing. Most beginner problems — lifting, bubbles, and nails popping off — come from rushed prep or a bead that is too wet or too dry, not from a lack of talent.
What acrylic nails actually are
Acrylic nails are extensions built on your natural nail from two parts: a liquid called monomer and a powder called polymer. Mixed on a brush, they form a small soft bead that hardens in the air in about 1 to 2 minutes. That bead is sculpted over a tip or a form, then filed into shape and finished with polish or a top coat. Unlike press-on nails, acrylics are built on the nail, which is why they last 2 to 3 weeks before a fill and why removal needs soaking, not peeling.
Acrylics suit people who want length, strength, or a shape their natural nails will not hold. They are less suited to very first-timers who want a 15-minute result. If that is you, start with a short set — short acrylics are easier to build, easier to live with, and far more forgiving while you learn.
What you need (beginner kit)
Buy the basics for how to do acrylic nails at home first, and skip the extras until your third or fourth set:

- Acrylic brush, size 8 or 10. Size 8 gives beginners more control; size 10 covers the nail faster once you are confident.
- Acrylic powder in a clear or natural pink shade. Clear shows mistakes more honestly, which helps learning; pink hides them a little.
- Monomer liquid (EMA-based) and a small glass dappen dish. Work near an open window or a fan, because monomer has a strong smell.
- Nail tips (a full wheel of sizes 0 to 9) or nail forms. Tips are easier for beginners; forms take more practice but give a more natural smile line.
- Nail glue, a 180-grit file, a 100-grit file for shaping, a buffer block, and a cuticle pusher.
- Acid-free primer and a dehydrator (or a nail prep solution). Primer is the step beginners skip most — and the step that prevents lifting.
- Lint-free wipes, cuticle oil, and a top coat.
- Acetone, cotton pads, and foil for later removal — buy them now so you are never tempted to peel a set off.
You do not need a drill for your first set. A hand file is slower but safer while you learn how much pressure to use near the natural nail.
Step 1: Prep (20 to 30 minutes — do not rush this)
When learning how to do acrylic nails at home, prep decides whether the set lasts. Work through all 10 nails before you touch acrylic:
- Remove all old polish and wash your hands with soap. Dry them fully.
- Push each cuticle back gently with a cuticle pusher. Do not cut live skin; just clear the nail plate so product never sits on skin.
- Trim your natural nails short and even, leaving about 2 millimetres of free edge so tips have something to sit on.
- Buff the shine off each nail plate lightly with a 180-grit buffer. You want a matte surface, not a thin or sore nail. Stop as soon as the shine is gone.
- Wipe each nail with a lint-free wipe to remove dust and oil.
- Apply dehydrator, let it dry for about 30 seconds, then apply one thin coat of acid-free primer and let it dry completely. Primer on skin causes lifting later, so keep it on the nail only.
If your hands are oily or you have just used hand cream, wash again. Oil under acrylic is the most common reason a fresh set lifts within 2 days.
Step 2: Tips or forms
For tips, size each nail before gluing anything. Hold tips against each nail from sidewall to sidewall: the tip should cover the nail edge to edge without squeezing the natural nail. If a tip is slightly too wide, file its sides; never use a tip that is too narrow, because it will pinch and hurt as it grows out.
Apply a small drop of glue to the well of the tip, press it onto the nail at a 45-degree angle, and hold for 10 seconds. Do all 10 nails, then cut the tips to your chosen length and file the shape roughly. Blend the seam where the tip meets the natural nail with a 180-grit file until you cannot feel a ridge.
For forms, slide the form under the free edge so it sits straight and snug, with no gap at the sidewalls. Forms are worth learning in your second or third set, not your first, because a crooked form gives a crooked nail.
Step 3: The bead (the skill to practice)
Pour a small amount of monomer into the dappen dish — about 1 tablespoon is plenty for a full set. Dip your brush fully into the monomer, press it against the bottom of the dish to release air bubbles, then wipe one side of the brush on the dish edge so the brush is damp, not dripping.
Touch the tip of the brush into the powder and wait 2 to 3 seconds. A bead should form that looks smooth and shiny, like a small pearl. Too wet and it runs toward the cuticle; too dry and it looks grainy and will not spread. Beginners should practice 5 to 10 beads on a practice sheet or a tip wheel before touching a real nail.
Apply in three zones per nail:
- Free edge (zone 1): place a medium bead where the tip meets the natural nail and press it out to cover the tip.
- Middle (zone 2): place a slightly larger bead in the centre and spread it from sidewall to sidewall with smooth strokes.
- Cuticle area (zone 3): place a small, slightly wetter bead and feather it close to the cuticle without touching skin. Leave a hairline gap — about 1 millimetre — between product and cuticle.
Let each bead self-level for a few seconds before you touch it again. Overworking wet acrylic creates bubbles and a lumpy surface that takes twice as long to file.
Step 4: Shape and file (30 to 45 minutes)
Wait until the acrylic is fully hard. Tap it gently with the end of your brush: it should make a dry clicking sound, not a dull thud. That takes about 2 minutes per nail after application, or 15 to 20 minutes for a full set to settle fully.
File with a 100-grit file for shaping, then a 180-grit file to smooth. File the sidewalls straight, shape the free edge (square, almond, or oval — pick one shape for the whole set while learning), and check the thickness: the nail should be thinnest at the cuticle and free edge and slightly thicker at the stress point in the middle. Buff the whole surface smooth, wipe away dust, and check for lumps by running a fingertip over each nail.
If you are choosing a shape, read Acrylic Nail Shapes Explained before you file — fixing a shape after polish wastes the whole set.
Step 5: Finish
Apply your chosen polish or design, then a top coat, and seal the free edge by running the top coat lightly over the tip. Apply cuticle oil around each nail once the top coat is dry. Step back and check all 10 nails together: same length, same shape, same smile line. Small differences are normal on a first set; write down what went wrong on which nail so your second set is better.
Total time for a first set: 2 to 3 hours. By your fourth or fifth set, most people finish in 90 minutes. Speed comes from prep becoming automatic, not from rushing the bead.
Beginner mistakes that cause lifting
- Skipping primer or dehydrator. Product on an oily nail plate lifts in days.
- Acrylic on skin. Product touching the cuticle or sidewall lifts as skin moves. Keep that 1-millimetre gap.
- Beads too wet. Wet beads run, flood the cuticle, and cure unevenly.
- Filing the natural nail too thin. A sore, thin nail plate will not hold product.
- Using nails as tools. Opening cans, scraping labels, and typing with the nail tips instead of the finger pads breaks even a good set. Read the daily habits in Acrylic Nail Care to protect your work.
After your first set
Book your fill in 2 to 3 weeks, not when lifting forces you to. Daily cuticle oil, gloves for dishes and cleaning, and a top-coat refresh every 3 to 4 days keep a beginner set looking salon-fresh. If a nail lifts, do not glue it back down over a gap — moisture trapped under a lifted nail is how problems start. File the lifted edge smooth and see a technician, or remove that nail properly. The safe removal method is in How to Remove Acrylic Nails Safely.
When to see a professional instead
Do your first set at home to learn how to do acrylic nails at home, but see a licensed nail technician if you have very damaged nails, a nail that is painful or swollen, or any green or dark discolouration under a nail. This guide is general information, not medical advice, and a professional can see in person what words on a page cannot.
FAQ: How to Do Acrylic Nails at Home
How long does a first acrylic set take?
Plan 2 to 3 hours for 10 nails. Prep takes 20 to 30 minutes, application about 60 minutes, and shaping and finishing 30 to 45 minutes.
Are tips or forms better for beginners?
For how to do acrylic nails at home, tips are the better choice for beginners. They give you a ready-made length and shape to build on. Forms give a more natural result but need steadier placement — try them from your third set.
Why did my acrylics pop off in a few days?
Almost always prep: oil on the nail plate, skipped primer, or product on the skin. Redo prep carefully and keep product off the cuticle.
What length should a beginner start with?
Short. When you learn how to do acrylic nails at home, a free edge just past the fingertip is easier to build, file, and live with. See Short Acrylic Nails for lengths and ideas that suit a first set.
Do I need a drill?
No. A hand file is slower but safer while you learn how to do acrylic nails at home. Add a drill only when you can file a smooth surface by hand without thinning the natural nail.
How do I know when to get a fill?
Every 2 to 3 weeks, as the natural nail grows out and a gap appears at the cuticle. The full fill cycle is explained in Acrylic Nail Fill.
Save this idea
If this guide to how to do acrylic nails at home helped, save it before your first set and start with short tips, a size 8 brush, and a full hour set aside just for practice beads. Your second set will already look better than your first — every nail technician started with a lumpy first set too.
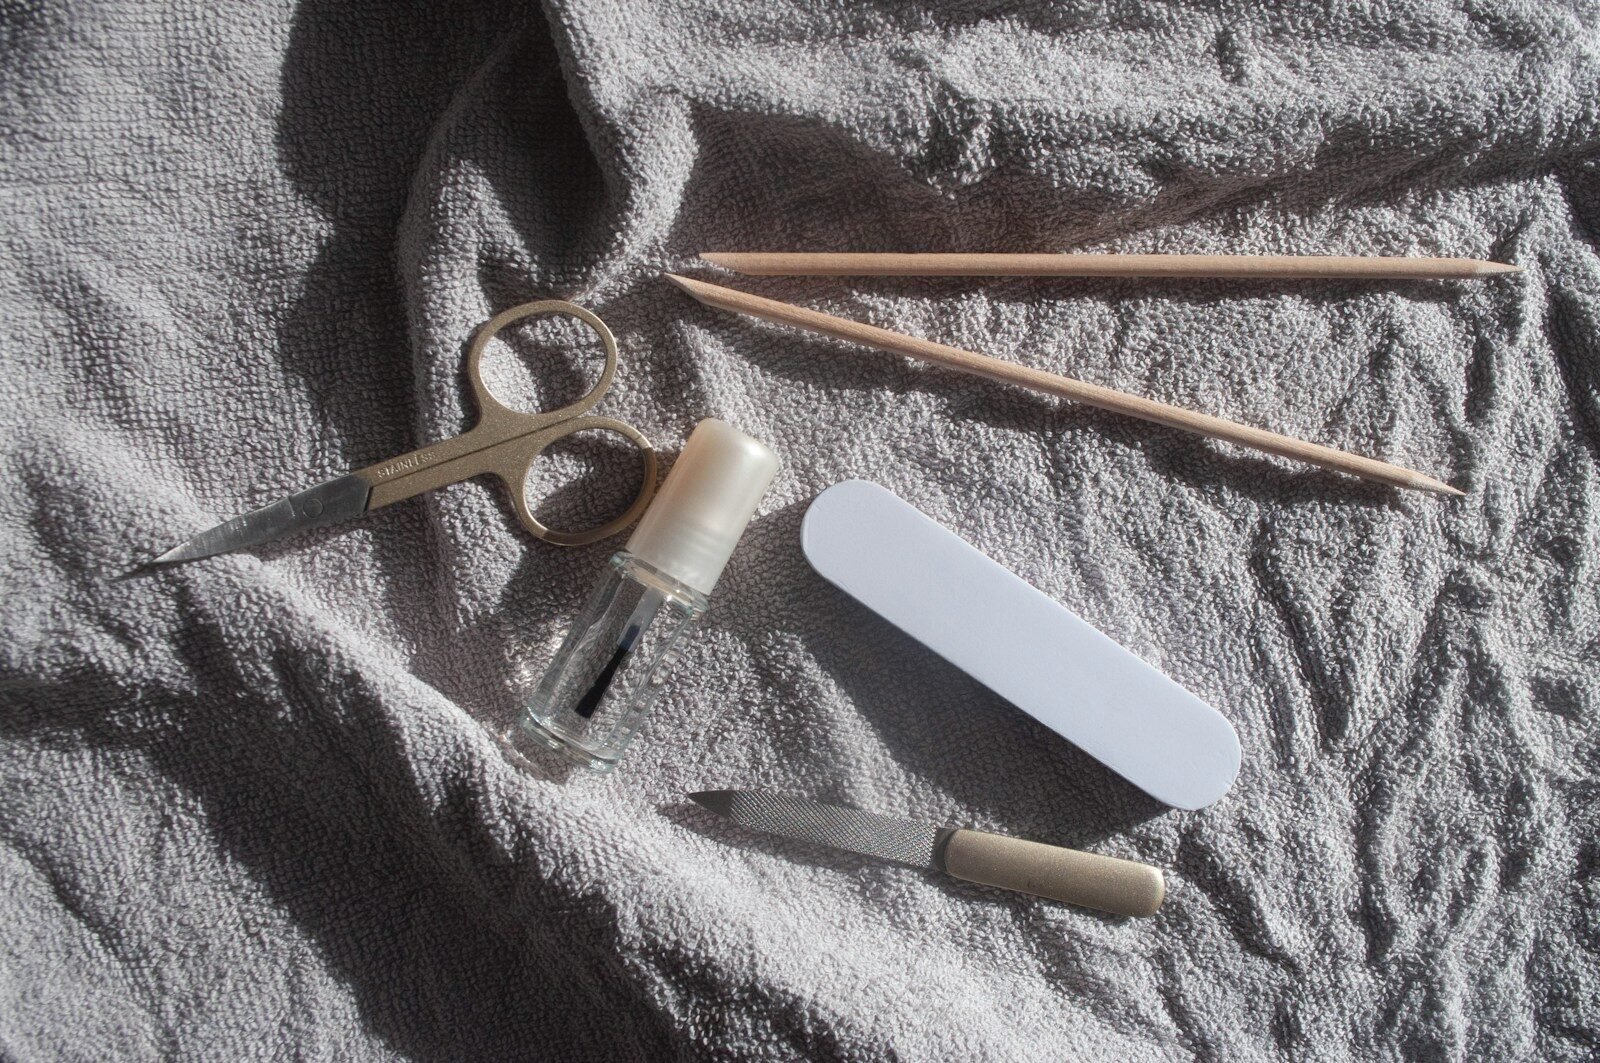
Featured image for how to do acrylic nails at home: Manicure tools photograph by Ksenia Pixelesse on Unsplash.