
5 Easy Ombre Acrylic Nails: Nude Fades & Blending
Short answer
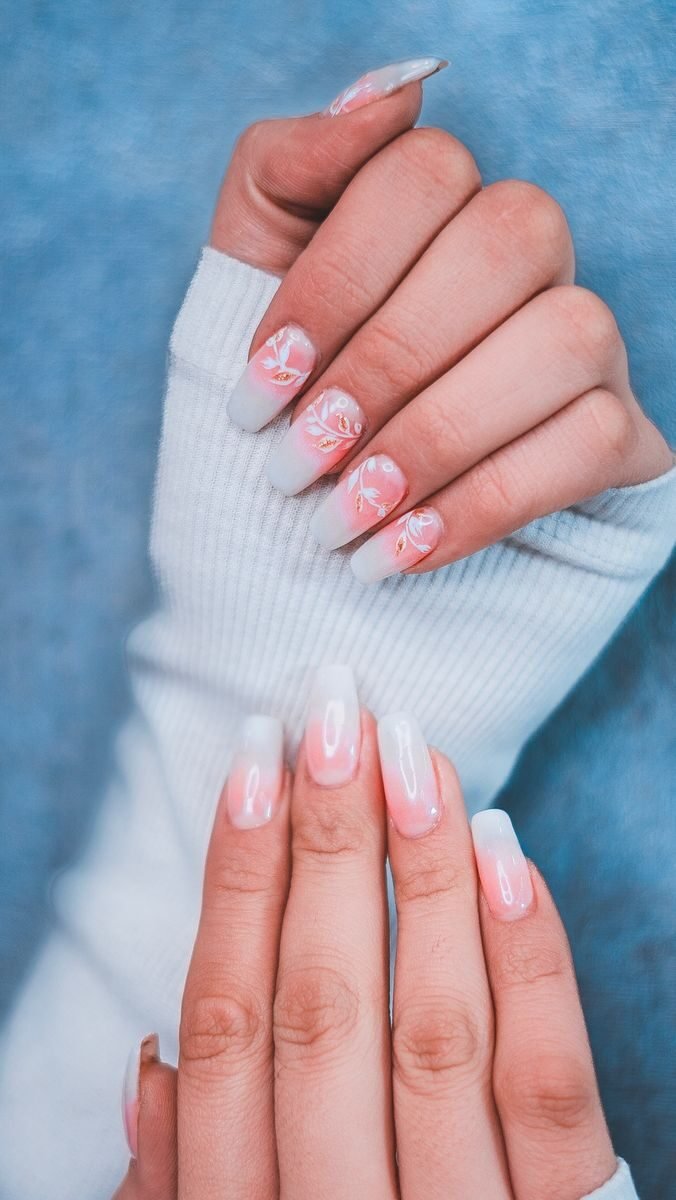
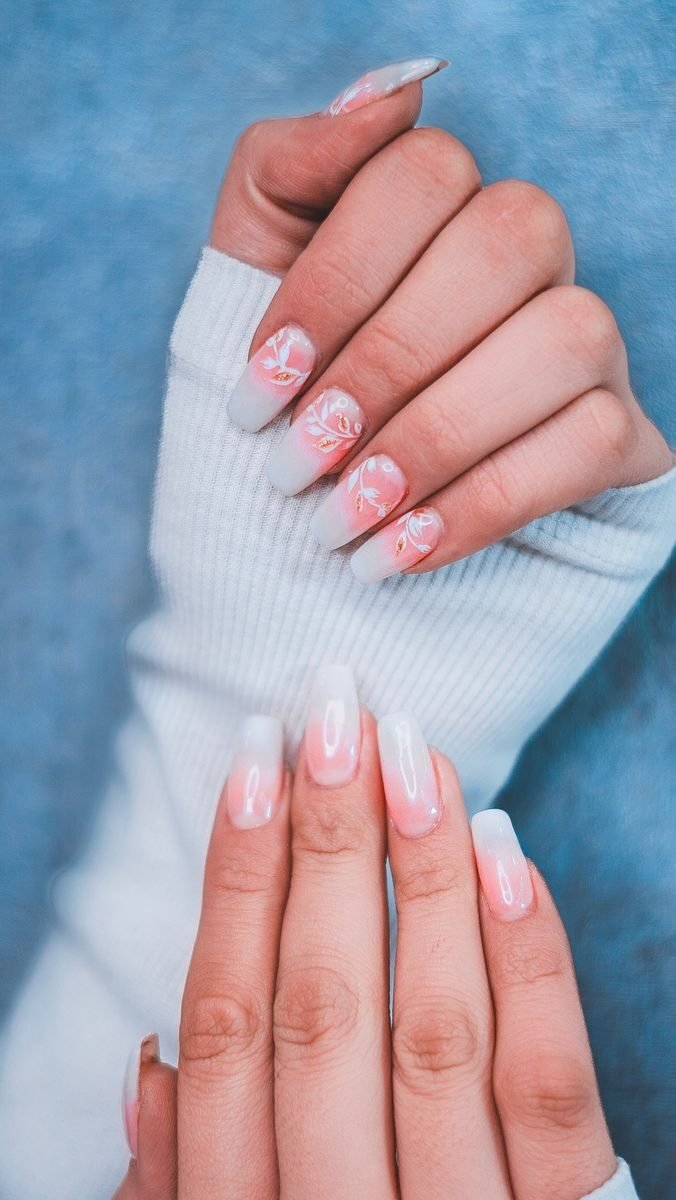
Photo by abolfazl zarghami on Pexels.
Ombre acrylic nails fade from one shade into another, usually nude at the cuticle into white, pink, or glitter at the tip. The fade has no hard line, which makes regrowth less visible and the set more forgiving than solid colour. The five styles below — pink and white, nude, glitter, coloured, and French fade — all use the same simple sponge blending method. Beginners can follow it at home with practice.
Pink and white ombre
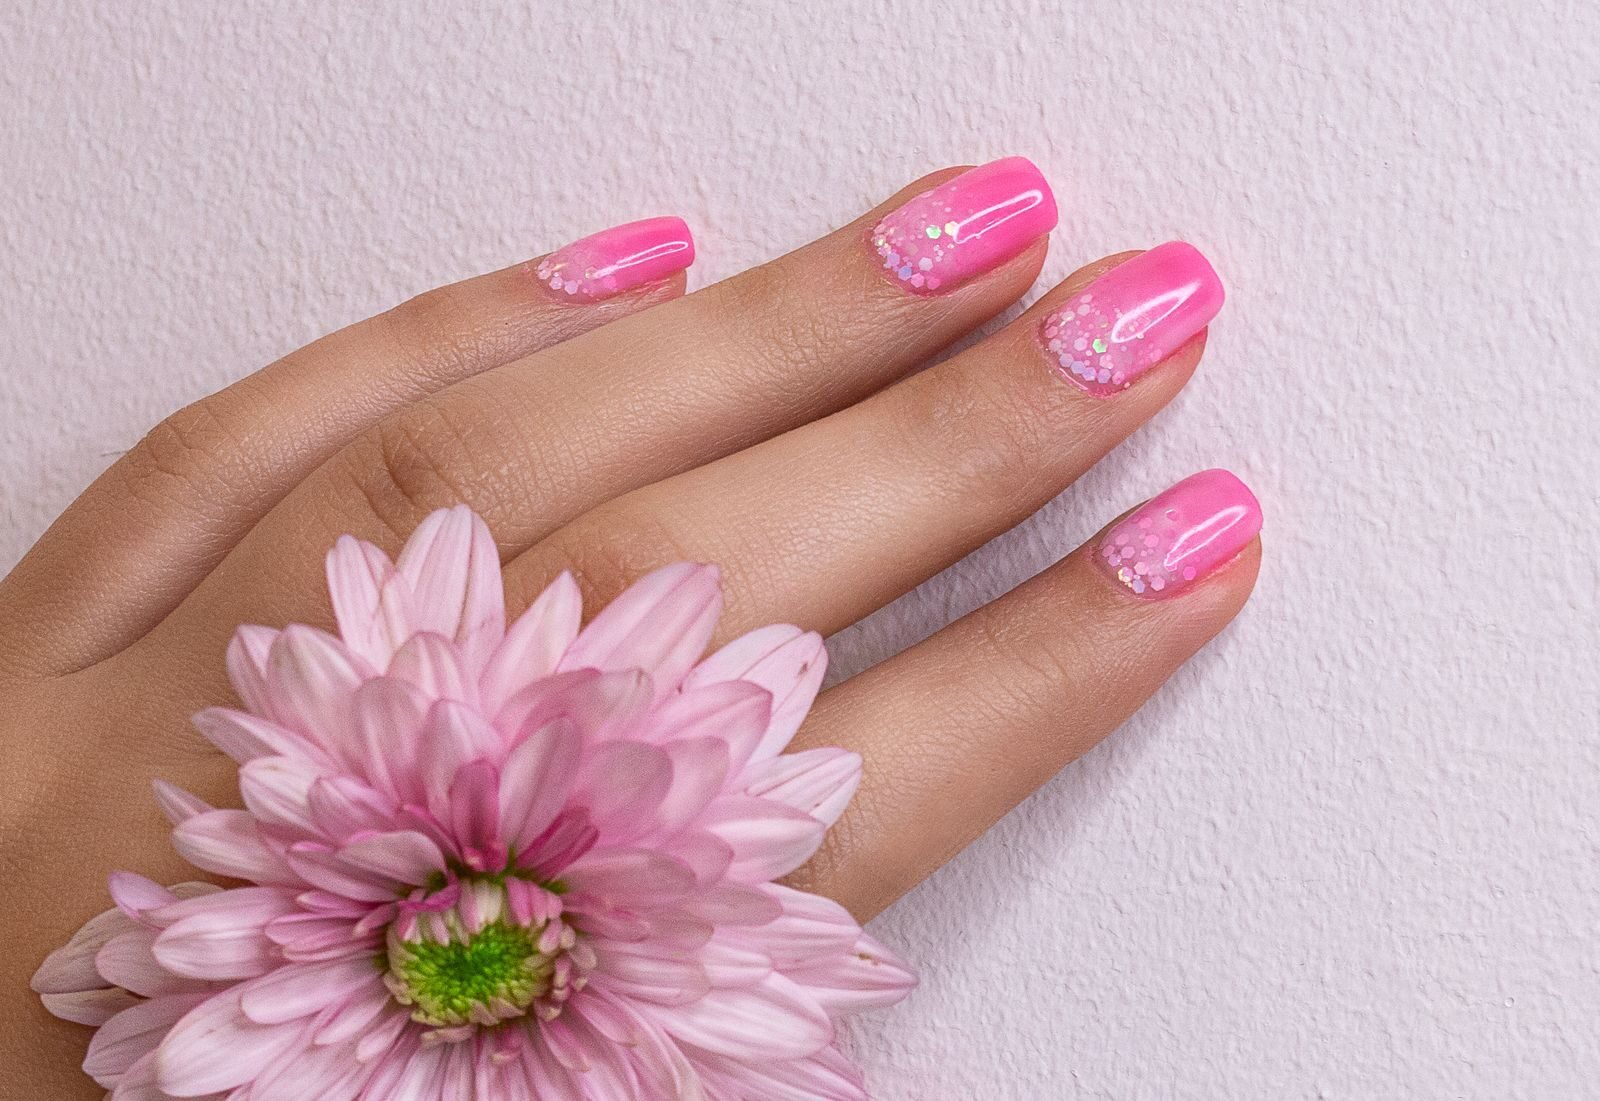
Photo by mehrab zahedbeigi on Pexels.
Pink and white ombre, also called baby boomer, is the classic ombre: soft pink at the cuticle fading into white at the tip. It suits weddings, work, and everyday wear, and it is the most requested ombre in salons. Keep the fade gradual — the white should appear slowly, not as a band. On short nails the fade is subtler, which many people prefer; see Short Acrylic Nails for lengths. The same fade as a French look is in French Tip Acrylic Nails.
Nude fades
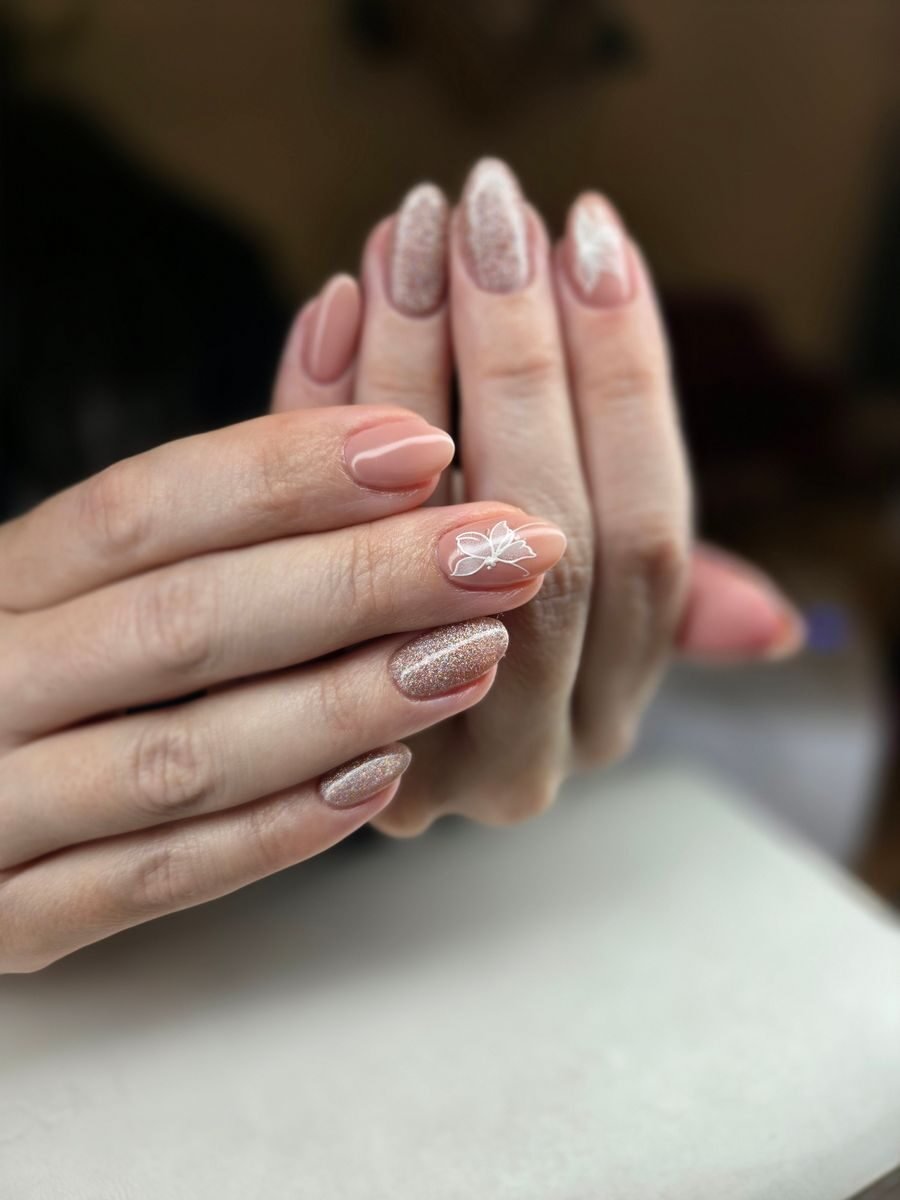
Photo by Jaki&Kari Jelevi on Pexels.
Nude fades use two nude tones, for example light beige into soft white, or mauve into taupe. They grow out gracefully and suit every outfit, which makes them the easiest ombre to live with for 2 to 3 weeks. Match the deeper tone to your skin undertone, not the bottle name — warm undertones suit warm nudes, cool undertones suit mauve nudes. If you are choosing a shape for a nude fade, Almond Acrylic Nails shows how the taper flatters the fade.
Glitter ombre
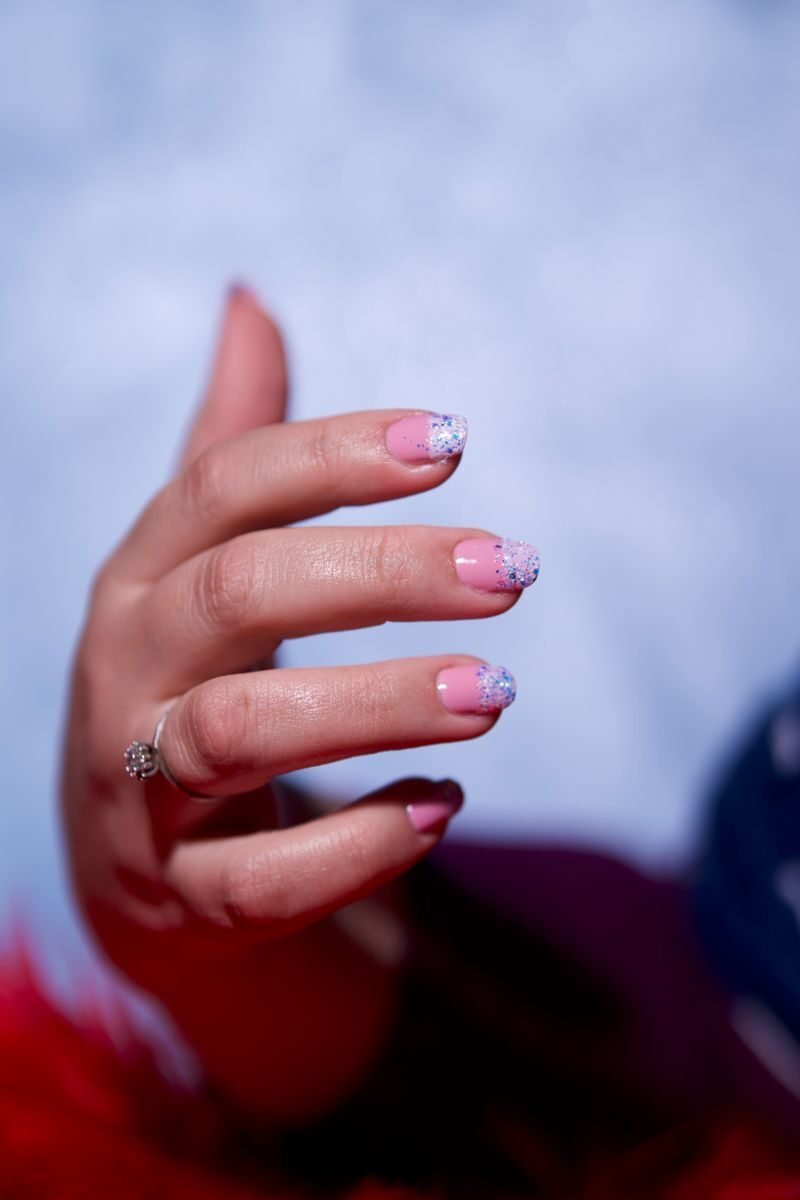
Photo by Salim Da on Pexels.
Glitter ombre fades glitter from the tip down toward the middle, over a nude or pink base. Keep the glitter densest at the tip and let it thin out — that gradient is what makes it look blended rather than painted. Gold and silver suit most skin tones; holographic glitter shifts colour in different light and reads as a party accent. One glitter ombre accent nail per hand beside soft nails keeps the set wearable at work.
How to blend at home

Photo by Yaroslav Shuraev on Pexels.
The sponge method is the beginner-friendly way: apply the base shade and let it dry, dab the second shade onto a makeup sponge, and press the sponge onto the nail tip in light layers, letting each layer dry before the next. Build the fade in 2 to 3 thin layers, not one thick one, then seal with a top coat. Practice on a tip wheel first — 5 to 10 practice nails teach you how much polish the sponge should carry. Full beginner steps for building a set are in How to Do Acrylic Nails at Home, and the care routine that protects any fade is in Acrylic Nail Care.
Ombre care and fixes
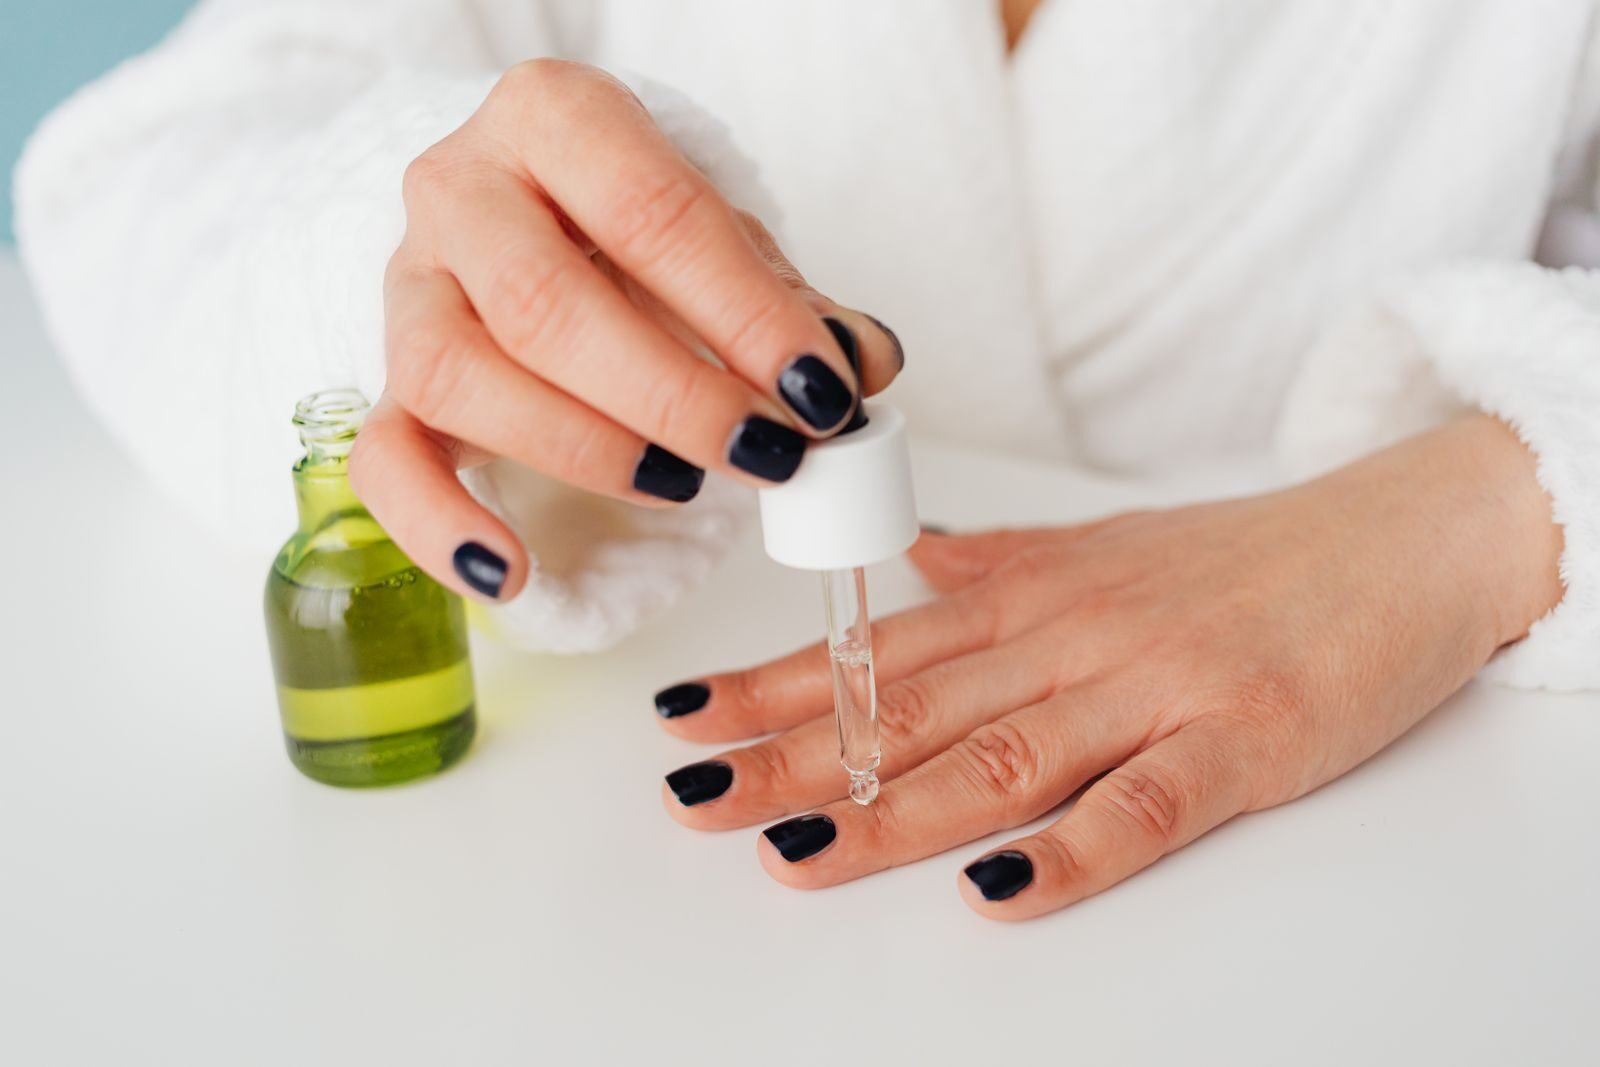
Photo by Kaboompics on Pexels.
Ombre hides regrowth better than solid colour, but it still needs fills every 2 to 3 weeks. Refresh the top coat every 3 to 4 days to keep the fade glossy; a dull top coat makes a fade look patchy. If the fade line looks harsh after a few days, one thin top coat usually softens it. If a nail lifts, file the edge smooth and book a repair — do not pick at it or glue it down. More ideas are on the Blog.
FAQ

Photo by Valeria Boltneva on Pexels.
Is ombre hard for beginners? The sponge method is beginner-friendly with practice on a tip wheel first. Does ombre suit short nails? Yes — the fade is subtler on short nails and regrowth shows less. How long does ombre last? 2 to 3 weeks between fills, like all acrylics. Can ombre be done with gel? Yes, but this guide covers acrylic fades; the blending idea is the same.